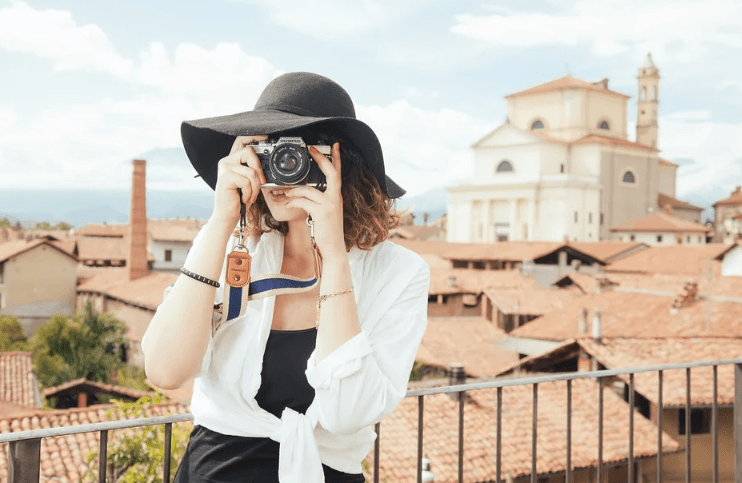
Black-and-white photography or monochrome photography is currently such a great inspiration because of increasingly advanced photography technology. All that’s left is converting black and white. Here are some photography secrets for anti-mainstream black and white photography!
Choose Photography with RAW + JPEG Format
The best monochrome conversion has been adjusted if you use RAW because RAW has more color information. Moreover, if you use RAW and JPEG and set the camera to monochrome picture style/picture control/film simulation, your camera automatically adjusts the images produced with monochrome colors.
Look for Contrast, Shape, and Texture
Your photo is even better if you consider the contrast, shape, and texture because usually, the colors you take will not be visible in your photos. You have to look for the right color to take pictures to look good in your photos. For example, in ordinary photography, your eyes will be fixed on a red object in front of a green background. If monochrome photography, these two areas will get the same brightness, and your image will look normal.
Try Long Exposures
Long exposure can also be done in monochrome photography, especially if you want to make a moving water or clouds effect. The blurry movement will also provide contrast to the texture with solid objects in the frame. Because using exposure is increased by more than 1/60 seconds, it is important to place it on a tripod, using a remote shutter release.
Use Filter
Graduated Neutral Density (ND Grad) filters and polarizing filters are perfect for monochrome photography like you can shoot in color. These filters can manipulate the contrast of the image and are very, very useful.
ND Grad filters are very useful for creating details in clear skies, while polarizing filters can reduce light reflection and increase contrast. Anyway, use different exposures to create a High Dynamic Range (HDR) composition.
Set the Light
When arranging light for the subject, you must forget a lot of knowledge that has been learned in the world of photography in general and think a little backward. In a silhouette photo, you have to make sure there is enough light shining behind the photo object and not in front of it. In other words, the light is used to illuminate the back of the object, and not from the front. An example of a silhouette photo is to place the subject of a picture in front of a sunrise or sunset, but you can also use another bright light source to get a silhouette photo.

